


To hang art on plaster walls, use picture hooks that are specially designed for plaster. Ensure that the hooks are the appropriate size for the weight of your artwork.
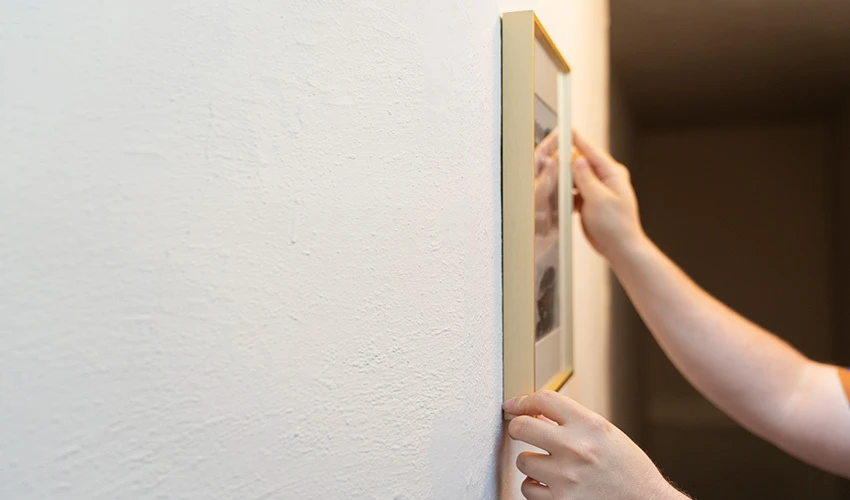
Hanging art on plaster walls can be a daunting task, but with the right tools and techniques, it's a breeze. Plaster is a durable material, but it requires a gentle touch to avoid damage when decorating your walls with artwork.
By selecting the correct hardware and preparing the wall surface properly, you can secure your art safely and add a touch of elegance to any room. Whether you're displaying a cherished family portrait or an exquisite painting, the key is to focus on both the wall's integrity and the art's stability. With a simple step-by-step approach, your walls will be adorned with your favorite pieces in no time, creating a visually appealing space that reflects your personal style.
The Charm Of Plaster Walls
The allure of plaster walls extends beyond mere aesthetics. This classic wall finish brings a touch of elegance and nostalgia to any home, evoking memories of grand, historic buildings. Plaster walls not only add character but also offer a smooth, durable surface ideal for hanging art.
Historical Context
Plaster has adorned walls for centuries. In ancient times, artisans crafted plaster from lime, sand, and water. They decorated homes of the elite with this mixture. Historic buildings showcase plaster's longevity and beauty. It stands the test of time.
Modern Appeal
In the present day, plaster walls maintain their charm. They blend well with modern decor. Plaster provides a unique backdrop for art. Its texture and warmth enhance any piece. Homeowners prize plaster for its classic look and contemporary vibe.
Credit: www.neighborly.com
Preparation Before You Start
Before you start, know that hanging art on plaster walls needs care. This guide helps you prepare.
Gathering The Right Tools
Get the right tools first. This makes the job easier and safer for your walls.
-
Stud finder
-
Drill
-
Level
-
Screwdriver
-
Wall anchors and screws
-
Picture hangers
-
Measuring tape
-
Pencil
Choose tools fit for plaster, not just drywall. This ensures your art hangs securely.
Understanding Plaster Wall Composition
Plaster walls are different from drywall. They are harder and more brittle.
|
Plaster Wall |
Drywall |
|---|---|
|
Thick layers over wood lath |
Thin sheets screwed to studs |
|
Brittle and prone to cracking |
Softer and easier to penetrate |
|
Requires anchors for heavy items |
Can use standard screws for light items |
Understanding these differences is key. It helps prevent damage when you hang art.
Selecting Art For Your Plaster Walls
Choosing art for your plaster walls is exciting. Yet, it needs care. Plaster walls are different from others. They demand special attention. This guide will help you select the perfect art pieces. Let's dive into the world of art and plaster walls.
Weight Considerations
Plaster walls can be tricky. They are not as strong as drywall. Heavy art can damage them. Always check the weight of the artwork before hanging. Light to medium pieces work best. Use proper anchors and hooks designed for plaster. This prevents damage. Here are some tips:
-
Choose light frames for your art.
-
Use special plaster wall anchors for safety.
-
Spread the weight by using more than one hook.
Aesthetic Harmony
Finding art that complements your room is key. The art should match your room's style and colors. It should feel like it belongs. Consider the room's theme and color scheme. Here's how to achieve harmony:
-
Pick art that matches your wall color.
-
Consider the room's style. Modern? Classic?
-
Balance the size of the art with the wall space.
Determining The Ideal Placement
Placing art on plaster walls can transform a room. The key is finding the right spot. Let's dive into how to achieve that perfect gallery feel in your home.
Visual Balance
Visual balance is crucial. Art should complement your space, not overwhelm it. Consider the wall's size and room's furniture. Aim for a harmonious look. A large, bold piece works well on a spacious wall. Smaller art groups can create interest on narrow walls.
Height And Spacing
-
Center art at eye level, which is typically 57 inches from the floor.
-
For groupings, treat multiple pieces as one. Ensure even spacing between them.
-
Spacing should be about 2 to 5 inches apart to unify the display.
Use a tape measure for precision. Mark points with a pencil lightly. This ensures your art hangs beautifully and evenly.
Securing Artwork Safely
Securing Artwork Safely on plaster walls requires careful consideration. The right methods and tools will protect both your wall and art. Let's explore how to do this effectively.
Choosing Appropriate Hangers
Plaster walls demand special attention. Pick hangers that support the weight of your artwork. Also, consider the wall's condition before selecting hangers. Here are options:
-
Picture Hooks: Ideal for light to medium pieces.
-
Toggle Bolts: Great for heavier frames.
-
Adhesive Strips: Best for small, light art.
Anchor Installation Techniques
Installing anchors in plaster can be tricky. Follow these steps:
-
Mark the spot where the art will hang.
-
Choose a drill bit smaller than your anchor.
-
Drill gently to avoid cracking the plaster.
-
Tap the anchor in place with a hammer.
-
Screw the hanger into the anchor securely.
Ensure anchors fit snugly. This prevents damage and keeps art stable.
Step-by-step Hanging Process
Hanging art on plaster walls requires precision. The process can seem daunting. Yet, with the right steps, it's simple and rewarding. Let's dive into a step-by-step guide to ensure your artwork hangs securely and beautifully on your plaster walls.
Marking And Measuring
Start with planning where your art goes. Use a pencil to mark the spot lightly. Measure the wall space and art size. Ensure the artwork's center is at eye level. Most galleries consider 57 inches above the floor as standard. Use a level tool to confirm your marks are even.
Drilling With Care
Plaster can chip or crack easily. Use a drill with a masonry bit for this task. Place a piece of painter's tape over your mark. This prevents plaster from crumbling. Drill slowly. Start with a smaller bit. Gradually increase to the size you need for your hardware.
Fixing The Hardware
Choose the right hardware for your wall and art weight. Wall anchors are essential for heavy pieces. Insert the anchor into the drilled hole. Gently tap it into place with a hammer. Screw in the hanger securely. Ensure it can support the weight of your artwork.
Expert Tips To Avoid Damage
Expert Tips to Avoid Damage provide essential guidance for hanging art on plaster walls. These walls require special care to avoid unsightly cracks or damage. With the right approach, you can enhance your space with art without compromising the integrity of your plaster walls.
Handling Cracks
Plaster walls can develop cracks over time. Before hanging art, it's crucial to inspect for any signs of cracking. Small cracks can grow if stressed by weight or movement. Address these issues promptly to maintain a smooth, sturdy surface for your artwork.
-
Inspect the wall closely for cracks.
-
Apply adhesive mesh tape over small cracks.
-
Smooth over with joint compound.
-
Allow to dry thoroughly before sanding.
Plaster Stabilization
Ensuring plaster is stable is key before adding any weight. Secure loose plaster to the lath behind it. Use screws with washer heads designed for plaster. This will hold the plaster in place without causing further damage.
|
Step |
Action |
|---|---|
|
1 |
Locate loose plaster |
|
2 |
Drill a hole through the plaster |
|
3 |
Insert plaster washer and screw |
|
4 |
Cover with joint compound |
|
5 |
Sand smooth after drying |
Maintaining Your Plaster Walls With Art
Maintaining Your Plaster Walls with Art is key to keeping them looking great. Plaster walls add charm and character to any home. But, they need special care, especially when hanging art. Let's explore how to keep both your art and walls in top condition.
Regular Inspections
Check your walls often. Look for cracks or loose plaster. Early fixes prevent big repairs. Use a soft brush to dust your walls. This keeps them clean and safe for art.
Art Rotation And Wall Care
Rotate your art pieces. This prevents damage from constant weight. When you move art, fill and paint any holes right away. This keeps your walls smooth and ready for new art.
Here are tips for wall care:
-
Use proper hooks for plaster walls. They support art without harming the wall.
-
Hang art in dry areas. Moisture can damage both art and plaster.
-
Avoid direct sunlight on art. It can fade colors over time.
Remember, gentle care keeps your plaster walls and art beautiful for years.
Troubleshooting Common Issues
Artwork adds personality to any room, especially when displayed on plaster walls. But what happens when you hit a snag while hanging your favorite pieces? Let’s troubleshoot common issues so your art hangs beautifully and your walls stay intact.
Repairing Small Holes
Small holes in plaster walls are common after removing art. Don't worry; they are easy to fix.
-
Clean the hole with a damp cloth.
-
Apply spackling paste with a putty knife.
-
Let it dry. Sand it smooth.
-
Touch up with matching paint.
Now, your wall looks good as new, ready for more art or a fresh look!
Dealing With Loose Plaster
Loose plaster needs careful handling to prevent further damage.
-
Press gently to check stability.
-
Remove any loose pieces.
-
Apply plaster adhesive for reattachment.
-
Use a plaster wash to secure the area.
After these steps, ensure the plaster is fully set before rehanging art.
Innovative Ideas And Alternatives
Want to refresh your space with art? Plaster walls can be tricky. No need to worry. Creative solutions exist to hang art without damage. Explore these innovative ideas and alternatives to showcase your favorite pieces with ease.
Using Adhesive Solutions
Adhesive hooks and strips offer a no-drill option. They stick to walls and hold frames securely. Ensure you choose the right type for your art's weight. Follow the instructions carefully for the best hold. Remember, not all adhesives are equal. Some are designed for heavier pieces. Others are for lighter artwork.
-
Check the weight limit before buying.
-
Clean the wall with isopropyl alcohol for a stronger bond.
-
Press firmly for 30 seconds to secure the strip.
Gallery Rails For Flexibility
Gallery rails are a stylish alternative. They let you change art without drilling new holes. Install the rail once at the top of your wall. Hang your frames from wires attached to the rail. This system allows for easy adjustments and rearranging. It's perfect for art lovers who like to switch things up.
|
Gallery Rail Benefits |
Details |
|---|---|
|
Easy to Install |
Set up once, and you're ready to go. |
|
Versatile |
Move artwork without extra holes. |
|
Adjustable |
Change the height and position easily. |
Both adhesive solutions and gallery rails protect your plaster walls. They also add a professional touch to your art display. Choose the best option that suits your style and art collection.
Incorporating Professional Help
Placing art on plaster walls can be tricky. Sometimes, professional help is best. This guide will help you decide when to call in the experts. We'll also discuss the costs involved.
When To Hire An Expert
Some situations require a professional's touch. Here are a few:
-
Large or heavy artwork: Big pieces can damage your wall.
-
High-value pieces: Don't risk damaging expensive art.
-
Complex installations: Some art needs special hanging methods.
-
Unsure about your wall: Plaster can be delicate. Experts know best.
Costs And Considerations
Professional help has its price. But, it's often worth it. Let's break it down:
|
Service |
Cost Range |
|---|---|
|
Consultation |
$50 - $100 |
|
Installation |
$100 - $500 |
|
Custom Solutions |
$200+ |
Remember, prices vary based on:
-
The size of your artwork.
-
The number of pieces.
-
Your location.
Always ask for a quote first. Pick someone with good reviews.
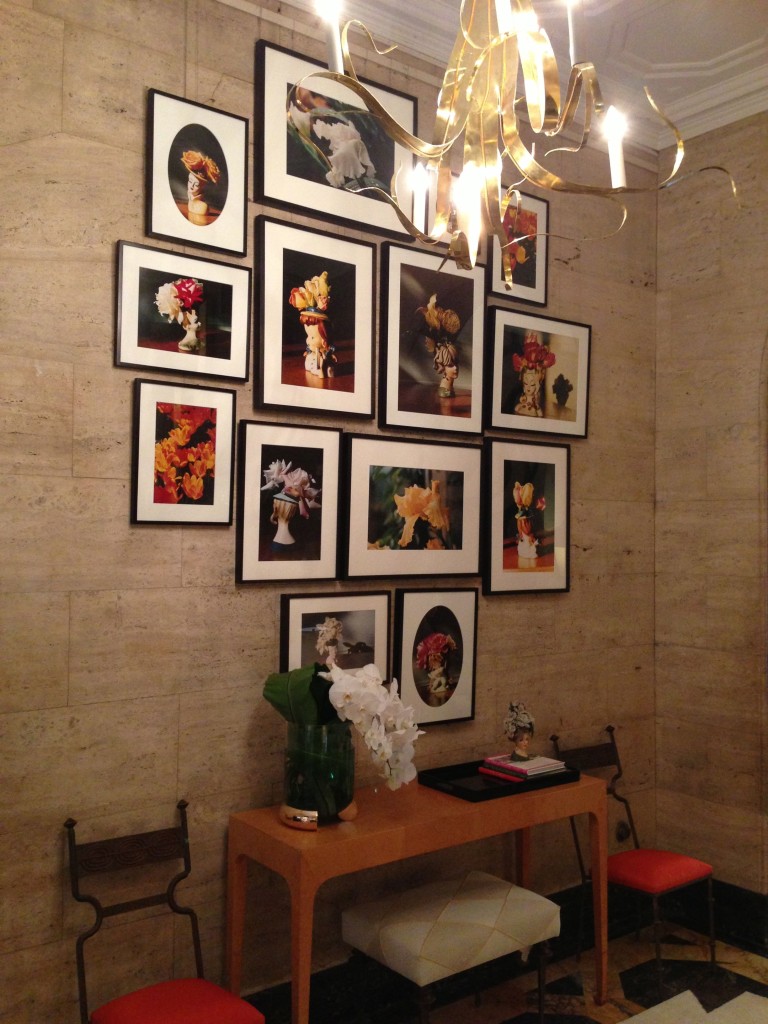
Showcasing Your Art Collection
Showcasing your art collection is an art in itself. Plaster walls offer a classic backdrop for your pieces. Yet, hanging art on them requires care. Get it right, and you transform your space. Your art speaks, engages, and stands out. Let's explore how to best display your collection on plaster walls.
Lighting To Enhance Display
Good lighting brings art to life. Think of light as an invisible frame. It draws eyes and highlights the beauty of your art. Use these tips:
-
Spotlights: Aim them at your art to create drama.
-
LED strips: Place them behind frames for a modern glow.
-
Adjustable lamps: Direct light where it's needed most.
Remember, natural light changes. Check your art at different times. Ensure colors stay true all day.
Complementing With Decor
Art does not sit alone. It lives with the room. Decor complements art. Here's how:
|
Element |
How It Complements |
|---|---|
|
Wall Color |
Choose hues that make your art pop. |
|
Furniture |
Select pieces that echo your art's style. |
|
Textures |
Add rugs or throws to match art's mood. |
Every item in the room talks to your art. Aim for harmony. Your space will feel designed, intentional.
Frequently Asked Questions
Can You Hang Art On Plaster Walls Without Drilling?
Yes, you can hang art on plaster walls without drilling by using adhesive hooks or strips designed for heavy items. Ensure the wall surface is clean and dry before application for best results. These options provide a secure hold without damaging the plaster.
What Kind Of Hooks Work Best For Plaster Walls?
For plaster walls, picture hanging hooks specifically labeled for use on plaster are best. These hooks often have thin, sharp nails that penetrate the wall with minimal damage. For heavier art, consider using a rail system that distributes weight more evenly.
How Much Weight Can Plaster Walls Support?
Plaster walls can typically support up to 20 pounds for items hung directly on nails or hooks. For heavier items, using anchors or securing the item across multiple studs can increase the weight capacity significantly. Always check the product specifications for weight limits.
Is It Safe To Use A Hammer On Plaster Walls?
Using a hammer on plaster walls should be done with caution. It's recommended to use a drill with a masonry bit for creating holes, or softly tapping in specially designed hooks for plaster. This minimizes the risk of cracking or chipping the plaster.
Conclusion
Hanging art on plaster walls doesn't have to be daunting. With the right tools and techniques, your walls can safely display your favorite pieces. Remember, choosing the appropriate hardware and taking the time to locate studs are key steps. By following these guidelines, you can enhance your space and enjoy your artwork without worry.
Happy decorating!


